Description
Juliette Balcony
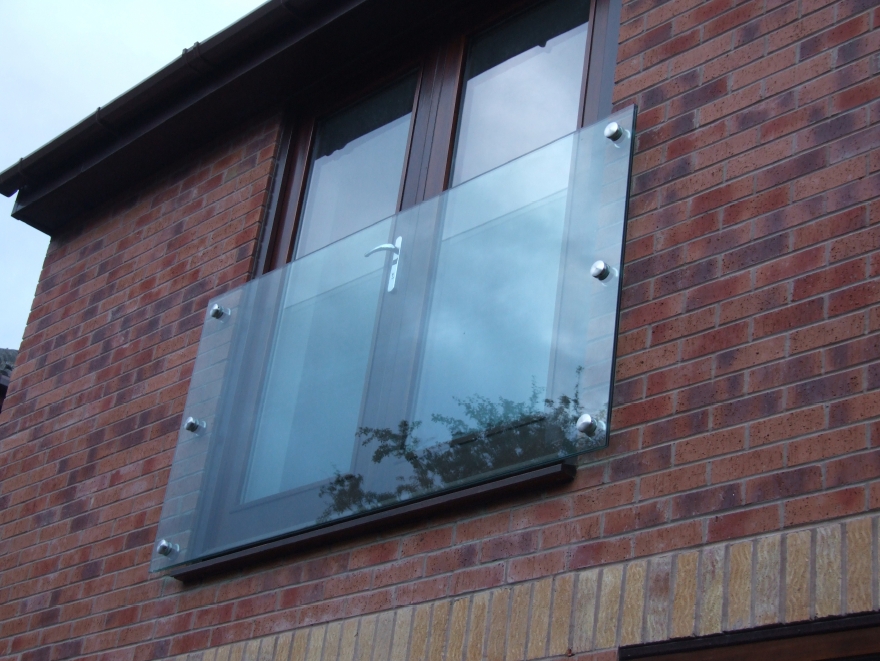
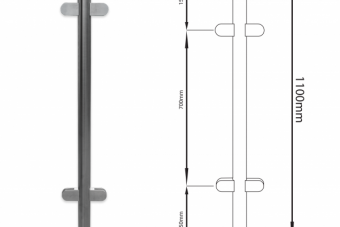
Sligo Glass can supply glass and fittings for Juliette Balcony so u can create undisturbed view from your French windows, bi-fold doors and patio doors. This great architectural design will help you to ensure that your surroundings are not only easy on the eye but also safe for your loved ones.

Juliette Balcony
Installation guide for Juliette Balcony into masonry with a use of threaded bar and resin.
Note: We supply a toughened laminated glass panel with either 4 or 6 nr stainless steel glass adaptors. This guide should only be used for chemical fixing. In case of fixing into timber you need to unscrew the threaded rod and replace with an M10 wood to metal dowel.
#1 Mark positions for holes- you may like to make a template from plywood. Holes drilled in the glass will be 24mm dia. The stainless steel glass adaptor gives a 10mm spacing from the wall and the outer disc is 50mm dia.
#2 Drill holes using a suitable drill and masonry bit- our threaded rods are M10 (10mm diameter) so we would suggest a M12 hole. Some people may prefer a 4mm gap which makes it 14mm.
#3 Clean the hole of dust and debris- proprietary brushes are available, or you could use a blow gun. *If not completely clean it could have a serious affect on the resin’s performance.
#4 If fixing in voids, perforated or hollow brickwork, block work, concrete and pre-cast units you may like to use wire or a nylon mesh sleeve.
#5 Using the Applicator Skeleton Gun, gently inject Resin, slowly removing the tube from the hole, to deposit resin without trapping air. For accurate, waste free injection, pre-mark the tube with tape so that you can stop operating the trigger when the tape appears. Set the tape at a distance from the tube end to allow for the resin that will be displaced by the bar. Ensure the gun is fitted with an extension tube of the correct length and diameter to reach the bottom of the hole.
#6 Mask the threaded rod with tape, making sure that it goes over the part required to take the nut to avoid resin contamination, which might block the threads. Slowly rotate the stud at the same time pushing it into the resin filled hole.
#7 Leave to cure and set correctly- make sure you allow enough time before fitting the glass panel. For that you should always follow the manufacturer’s specified time.
*In colder temperatures the resin will take longer to cure.
#8 Fit the glass by placing over the threaded rods- once in place, the 50mm outer discs can be screwed in place and tightened (you may like to use a C spanner).
Note: Ensure resin is set, glass is line and level and the adaptors have been fully tightened.
***Don’t forget to send us a photo of the completed project or simply tag us in any of your social media posts from the job- that would be very much appreciated!
For more info email: sales@sligoglass.com
You might also be interested in glass balustrades


